


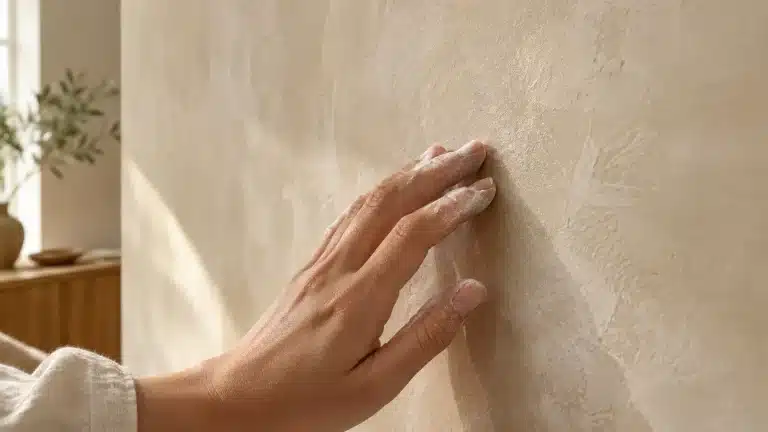
Limewash is a mineral based finish made from slaked lime and water that hardens on the wall through carbonation. Unlike conventional latex or acrylic paint, which forms a synthetic film on the surface, cured limewash creates a breathable, porous mineral coating with a soft, matte character. Because of this unique mineral structure, caring for limewash requires a gentler approach. Scrubbing the surface with aggressive household cleansers, abrasive sponges, or heavy friction can wear down the coat, alter the texture, or leave burnish marks. Protecting its appearance relies on gentle dry maintenance, prompt spot treatment, and seamless touch ups.
Routine Care and Dusting
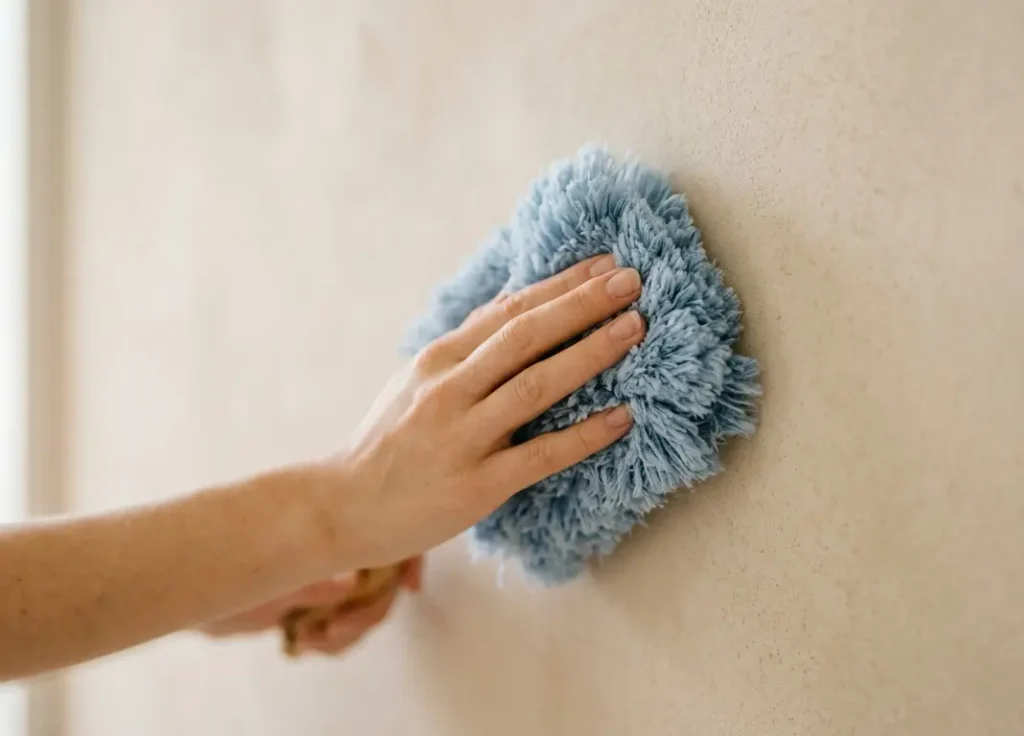
The soft, mottled look of limewash comes from microscopic surface variations that scatter ambient light. Over time, those same subtle surface variations can trap airborne dust, particularly around entryways, baseboards, and ceiling vents.
Dust Removal Without Surface Abrasion
Keeping dust from building up in the porous surface requires non abrasive tools and a light touch:
- Microfiber Dusters: Gently wipe the wall with a clean, static free microfiber duster or dry microfiber cloth. Avoid rubbing heavily across unsealed limewash, as friction can strip fine lime particles and create polished patches.
- Soft Vacuum Attachments: For larger surfaces or high corners, use a soft horsehair brush attachment on a vacuum cleaner. Hold the brush head lightly off the wall or glide it with minimal pressure so the bristles do not scratch the finish.
Core Dusting Principles
The simplest way to protect the finish during routine care is to minimize friction, avoid unnecessary water, and work from top to bottom so falling dust cleans off the floor rather than re-settling on lower sections.
Spot Cleaning: Unsealed vs. Sealed Surfaces
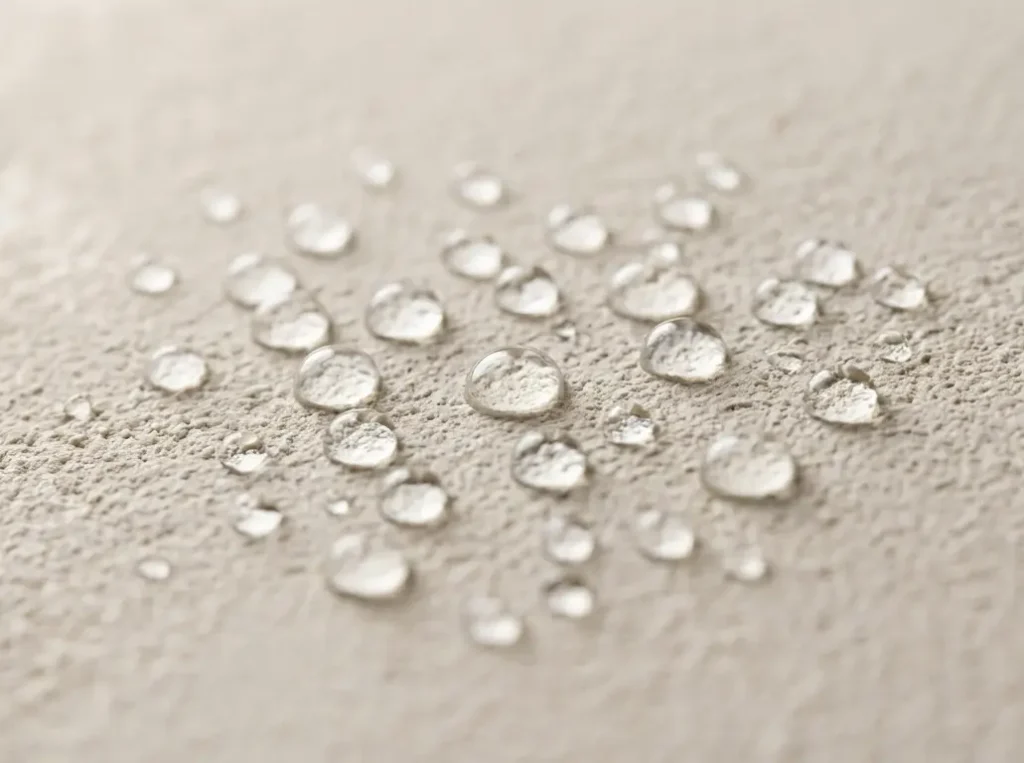
Because unsealed limewash remains porous and absorbent, liquid spills can penetrate the finish if left unattended. How you handle a mark depends on whether the wall is raw limewash or treated with a protective sealer.
| Surface Type | Recommended Cleaning Method | What to Avoid |
| Unsealed Limewash | Dry dusting, gentle blotting with dry towels, soft gum eraser for light dry marks, or light dabbing with a damp sponge | Heavy scrubbing, soaking with water, chemical sprays, abrasive pads |
| Sealed Limewash | Wiping liquid spills promptly with a soft cloth dampened with cool water | Acidic cleaners, harsh degreasers, stiff scrubbing brushes |
| Slight Scuff / Stain | Localized touch up or feathered recoating with diluted original paint | Aggressive spot scrubbing that creates burnished rings |
Cleaning Unsealed vs. Sealed Limewash
- Unsealed Walls: Unsealed lime acts like traditional plaster and absorbs liquids easily. If a liquid spill occurs, blot it immediately with a dry paper towel or clean cotton cloth do not rub. For light pencil or dirt marks, gently dab a dry gum eraser over the spot. If water is needed, press a slightly damp sponge onto the mark without rubbing, then allow it to dry naturally. The wet area will darken at first but dries back to its normal tone as water evaporates.
- Sealed Walls: Limewash protected by a mineral compatible sealer repels liquid water while retaining vapor permeability. Liquids tend to bead on sealed surfaces, allowing you to wipe them away promptly with a soft cloth dampened with cool water.
Why Chemical Cleaners and Excessive Water Ruin Limewash
Chemical cleansers particularly acidic solutions such as vinegar can react with calcium carbonate in cured limewash and damage the mineral finish or affect its color. Harsh chemical agents like bleach or heavy degreasers can also cause discoloration and leave uneven marks.
Using excessive water on unsealed limewash presents similar risks. Saturating the surface can wash out pigments, move mineral salts around, and cause “flashing” visible tide lines where the wet patch dries at a different rate than the rest of the wall.
Touch Ups and Scuff Repairs
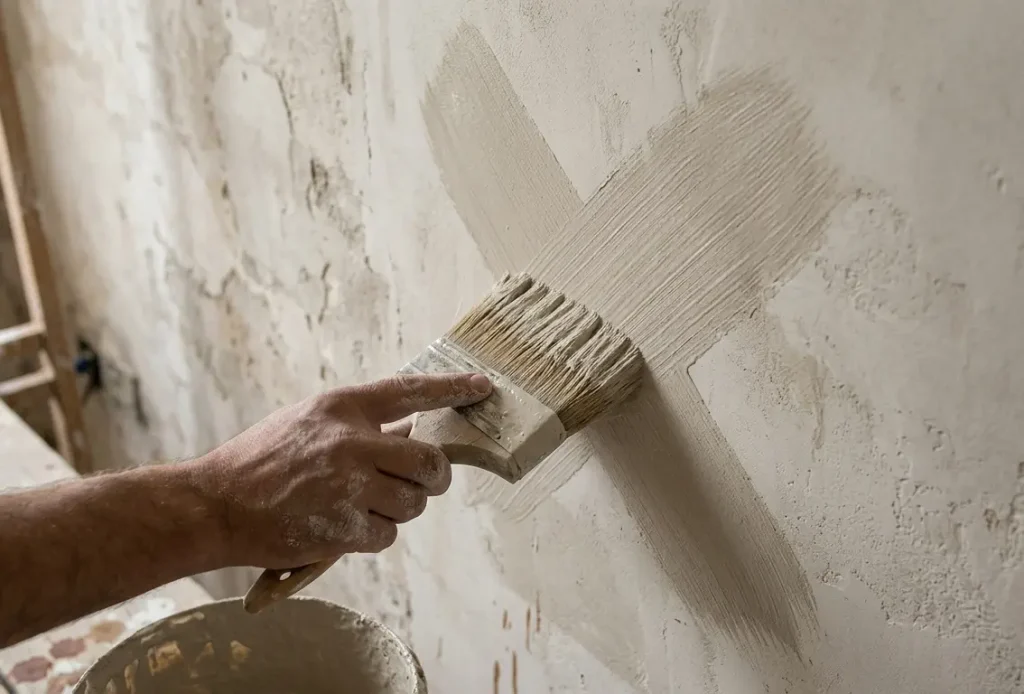
One benefit of limewash is its forgiving visual texture. While flat latex paint often leaves noticeable square patches when touched up, limewash repairs blend smoothly when applied with a feathered brush technique.
The Crosshatch Feathering Technique
Deep scuffs or scrapes that penetrate the paint layer require applying fresh limewash from your original batch. To blend the patch seamlessly into the surrounding area:
- Lightly Dampen the Damaged Area (If Recommended): If specified by your paint manufacturer, mist the scuff area lightly with clean water using a fine spray bottle. Dampening prevents dry lime from pulling moisture out of fresh paint too quickly, helping the patch cure properly.
- Dilute the Paint Mix (If Recommended): If approved by your paint manufacturer, dilute a small amount of the original limewash with clean water (often 10–15%). Dilution thins the wash slightly, making it easier to build transparent layers without creating harsh edges.
- Apply with an “X” Motion: Using a small masonry brush or wide, soft bristle brush, apply the wash in short, overlapping crosshatch (“X”) strokes directly over the scuff.
- Feather the Edges: Brush lightly outward from the center, thinning out the layer so there is no distinct line separating the wet paint from the cured wall.
Step by Step Spot Repair Workflow
- Step 1: Wipe away loose dust or debris with a dry microfiber cloth.
- Step 2: Mist the patch area lightly with clean water until damp (if recommended by the product manufacturer).
- Step 3: Apply a thin coat of diluted limewash using overlapping crosshatch strokes, extending slightly past the mark.
- Step 4: Allow the repair to dry thoroughly according to product guidelines. The patch will lighten significantly as moisture evaporates, though full carbonation and curing take additional time.
- Step 5: Inspect the repair under natural light once dry. If the mark is still visible, apply a second thin, feathered coat.
Preventive Maintenance and Sealing
For high traffic hallways, dining areas, or rooms with elevated humidity, protective sealers help preserve the wall without destroying its subtle finish.
Choosing a Compatible Mineral Sealer
Film forming polyurethane or standard clear coats create a synthetic gloss, block breathability, and can yellow over time. Instead, opt for a breathable, mineral compatible sealer specifically formulated for limewash.
- Water and Stain Protection: Depending on the formulation, compatible sealers can reduce liquid absorption while preserving the finish’s natural vapor permeability.
- Preserving Breathability: A compatible sealer leaves microscopic mineral pores open, allowing moisture vapor to continue moving through the finish without trapping humidity in the wall.
- Maintaining a Matte Sheen: Quality limewash sealers protect against liquid splashes while keeping the original low gloss appearance. Always consult the limewash manufacturer for recommended sealer pairings and application guidelines.
3 Common Maintenance Mistakes That Ruin Limewash
- Scrubbing Spots with Abrasive Pads: Using magic erasers, stiff scrubbing brushes, or rough sponges strips away outer pigment layers and creates smooth, shiny burnish marks that are difficult to undo without repainting.
- Patching with Standard Spackle: Repairing nail holes or dents with synthetic drywall spackle creates smooth, non porous spots. Limewash may not adhere reliably to smooth synthetic joint compounds, which can leave the repair visibly different from the surrounding mineral finish. Use a lime based repair filler instead.
- Applying Non Breathable Clear Topcoats: Covering limewash with standard acrylic or polyurethane topcoats traps moisture behind a plastic film, leading to clouding, peeling, or discoloration over time.
Frequently Asked Questions
Can you wash limewash walls?
Avoid traditional washing with wet sponges or soapy water. Unsealed limewash absorbs liquid and can lose pigment or burnish under friction. Stick to dry dusting or light blotting with a slightly damp cloth when necessary.
Can you use vinegar or bleach on limewash?
No. Vinegar is acidic and can react with calcium carbonate, damaging the finish. Bleach and harsh chemical cleaners can discolor pigments and weaken the mineral structure.
Can you scrub limewash walls to remove scuffs?
Scrubbing creates permanent shiny, smooth spots known as burnishing. Scuffs are best handled by dabbing with a dry gum eraser or touch up painting using a feathered crosshatch stroke.
How do you repair damaged limewash?
Mist the damaged area with water (if recommended), dilute a small amount of original limewash if permitted by the manufacturer, and feather the paint over the scuff using crosshatch (“X”) brush strokes.
Can limewash walls be sealed?
Yes. You can apply a breathable, mineral compatible sealer designed specifically for limewash. This provides liquid water resistance in higher use areas while maintaining the wall’s matte appearance and breathability.
How often should limewash walls be dusted?
Dust limewash walls as needed, typically when visible dust or cobwebs begin to accumulate. Using a microfiber duster or horsehair vacuum attachment keeps ambient dust from settling into the wall’s texture.
Can you paint over limewash walls?
Yes, but surface preparation depends on the finish you choose next. If the existing limewash is chalking, wipe down the surface and apply a stabilizing primer. Standard latex or acrylic paints require a compatible bonding primer to adhere to the porous lime surface. If applying a fresh layer of limewash, clean the wall thoroughly and follow the paint manufacturer’s preparation instructions.
Technical References & Standards
- ASTM International — ASTM C1489: Standard Specification for Lime Putty for Structural Purposes. Technical specification covering lime putty made from hydrated lime or quicklime, including material properties and requirements for masonry, plaster, and stucco applications.
- Building Science Corporation — BSD 106: Understanding Vapor Barriers. Background reference on vapor transmission, material permeance, moisture movement, and vapor retarder classifications in building assemblies.
- Historic England — Practical Building Conservation: Mortars, Renders & Plasters. Reference covering the properties, deterioration, conservation, repair, and maintenance of traditional lime based building materials, including limewash and lime based plasters.


1 thought on “How to Clean, Repair, and Maintain Limewash Walls”
Comments are closed.