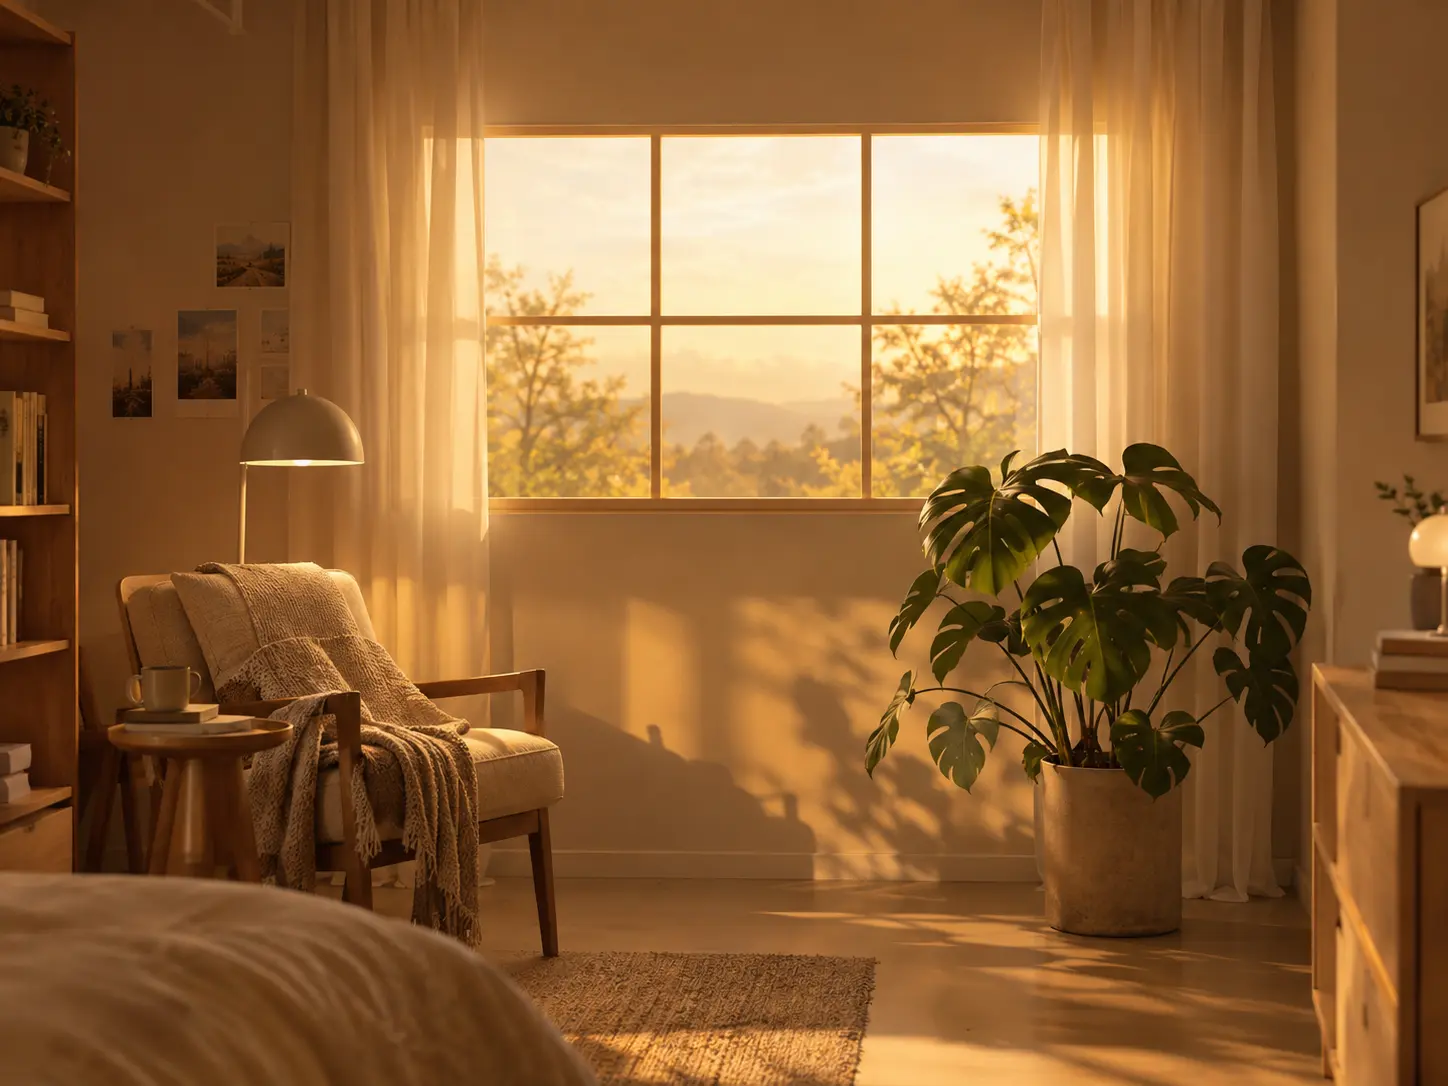
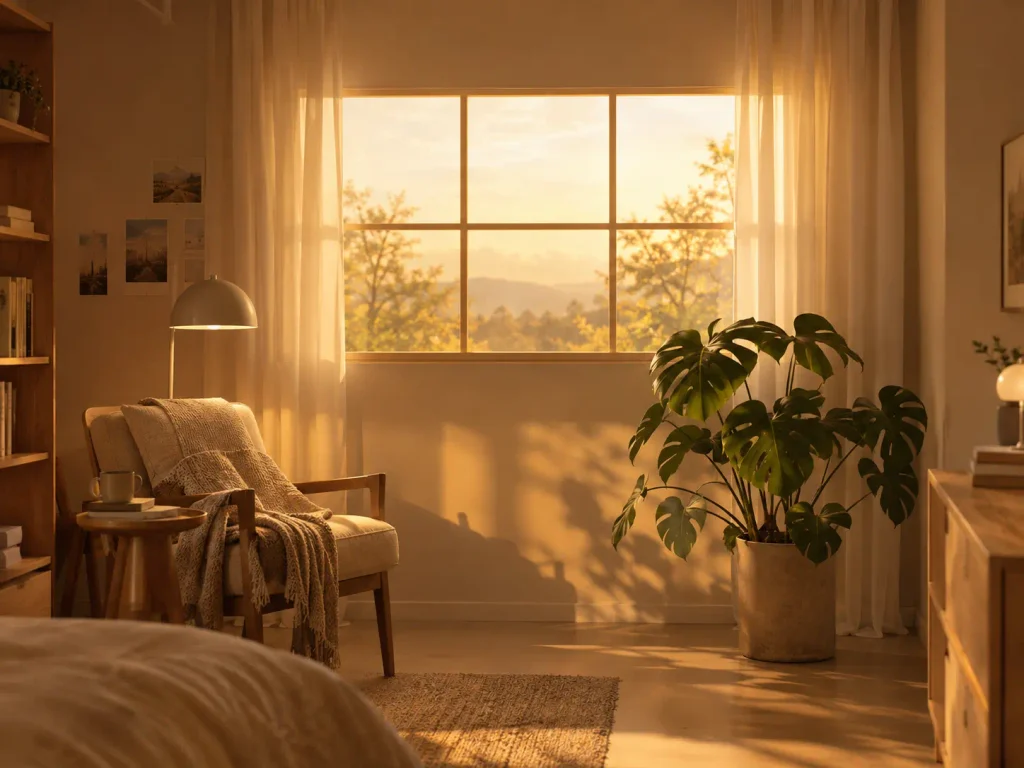
A practical guide to a 60 × 90 cm (24 × 36 in) LED daylight panel, covering wiring, safety, and realistic brightness.
At a glance
- Size: 60 × 90 cm (about 24 × 36 in)
- Power: about 50 W (about 100 W with common off-the-shelf strips)
- Expected brightness: roughly 300-600 lux at 1 m (calculated estimate, not measured)
- Best for: ambient fill light, visual depth, and soft light for video calls. It is not a light-therapy device.
- This guide covers low-voltage (24 V DC) work only. Do not wire mains (120/230 V) connections yourself.
1. What a Fake Window Can and Can’t Do
| Light source | Approx. illuminance | Note |
|---|---|---|
| Direct outdoor sunlight | 32,000-100,000 lux | Reference point |
| Overcast outdoors | ~1,000-10,000 lux | Far brighter than indoor lighting |
| Typical indoor lighting | ~100-500 lux | |
| This panel (1 m, straight on) | ~300-600 lux (estimate) | ~600-1,200 lux with 12 W/m strips |
The panel is an ambient light source that makes a blank wall feel like an opening and adds depth to a small room. It can’t replace sunlight or clinical light therapy, which typically delivers around 10,000 lux near the eyes.
2. Structure Overview
The key rule is that the spacing between LED strips must not be wider than the distance to the diffuser. Otherwise you’ll see stripes through the acrylic. This design uses 10 strips at 6 cm pitch across the 60 cm height, with a 6 cm diffusion gap, so the rule is met.
3. Materials

Frame and optics
- Pine boards, nominal 1×4 (actual width ~8.9 cm / 3.5 in), for a 60 × 90 cm outer frame
- 6 mm plywood back panel and flat white paint
- 3 mm opal (milky white) PMMA acrylic sheet, about 57 × 87 cm
- 10 aluminum LED channels (~85 cm each) with mounting clips
- Thin wood strips for the window grid, aluminum foil tape
Electrical
- 24 V tunable-white COB LED strip, 85 cm × 10 runs = 8.5 m total (CRI 90+, ideally 95)
- Fully enclosed 24 V DC power adapter (100-240 V input, with certification for your region: UL, CE, UKCA, etc.)
- 2-channel constant-voltage (CV) CCT controller
- Inline fuse holder and blade fuses
- 18 AWG 3-conductor cable (+24 V / cool white − / warm white −), three 12-position barrier terminal blocks (rated 10 A or more), 22 AWG wire, heat-shrink tubing
4. Build Steps
Step 1: Build the frame
- Build a 60 × 90 cm outer frame with an inner depth of at least 8 cm (3.1 in). You need room for the channel (1 cm), the diffusion gap (6 cm), the acrylic (0.3 cm), and a small recess.
- Paint the inside and the back panel flat white to boost reflectivity.
- Seal inside corner seams with foil tape or white silicone to stop light leaks.
Step 2: Lay out the LEDs
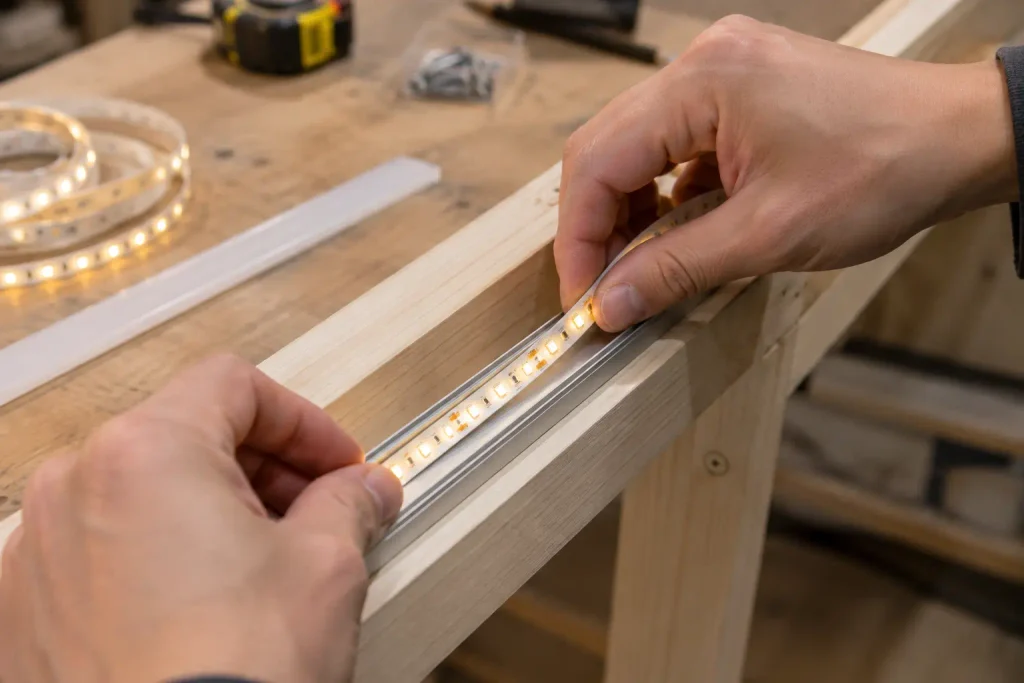
- Stick each strip into an aluminum channel, then mount the 10 channels at 6 cm center-to-center spacing, starting 3 cm from the edge.
- Never stick strips directly onto wood or acrylic. The aluminum works as a heat sink.
- Choosing strips:
- 6 W/m tunable-white COB strips are hard to find.
- Common 12 W/m strips are brighter, but power and heat double, so you must change the adapter and fuse (see the table in Step 3).
Step 3: Power and wiring
Size the adapter and fuse to the strips you actually use. As a rule, the adapter should be rated at least 1.25× the total load (the 80% rule).
| Strip | Total power | Current at 24 V | Adapter | Fuse |
|---|---|---|---|---|
| 6 W/m × 8.5 m | ~51 W | ~2.1 A | 75 W (3.1 A) or more | 5 A |
| 12 W/m × 8.5 m | ~102 W | ~4.25 A | 150 W (6.25 A) or more | 7.5 A |
- I don’t recommend limiting brightness in software so a smaller adapter will do. If the controller resets, it may return to 100% and overload the adapter. Buy an adapter that matches the strips from the start.
- The controller’s per-channel current rating must exceed the load on that channel.
Wiring flow
- Each line (+24 V, CW−, WW−) needs 11 connection points (1 input + 10 strips), so a single 5-way connector won’t do. Use one 12-position terminal block per line.
- Adding same-length 22 AWG 3-wire pigtails at each strip helps keep brightness even from strip to strip.
- Insulate soldered joints with heat-shrink tubing. Lever-style connectors like the WAGO 221 are already insulated and don’t need it.
- Keep the adapter outside the frame. Putting a power supply inside a closed wooden box raises heat and fire risk. I don’t recommend any approach that requires you to wire mains voltage yourself if you’re a beginner.
Dimming and flicker
- Cheap controllers use low-frequency PWM, which can whine audibly or cause banding on phone video.
- Ideally look for PWM around 20 kHz or higher. These are uncommon, so ask the seller for specs.
- After buying, check for flicker with your phone camera’s slow-motion mode at low brightness.
Step 4: Install the diffuser
- Mount the 3 mm opal PMMA acrylic 6 cm (2.4 in) from the LEDs. Any closer and individual LED lines show through.
- A window grid on the front supports the acrylic against sagging and adds depth. Recess the acrylic about 0.6 cm into the frame to create a shadow line.
- Don’t use polystyrene (PS) sheets. They yellow and turn brittle under heat and UV.
Step 5: Ventilation
- Drill four to six holes about 2 cm (0.75 in) in diameter along the top and bottom side boards so heat doesn’t get trapped.
- Paint the inside of each hole matte black or add an L-shaped baffle so light doesn’t leak out.
- Hanging the panel 1-2 cm off the wall improves airflow.
Step 6: Bench test before mounting
- 2-hour burn-in: Run it at the maximum brightness you plan to use. Check that the aluminum channels stay under 60 °C (140 °F), the wood frame isn’t hot, and there’s no odd smell or discoloration.
- Uniformity check: Compare center and corner brightness at 1 m. Phone lux apps are inaccurate, so use them for relative comparison only. A difference within about ±15% is good.
- Flicker check: Film the panel at low brightness with a phone camera.
Step 7: Mount it on the wall
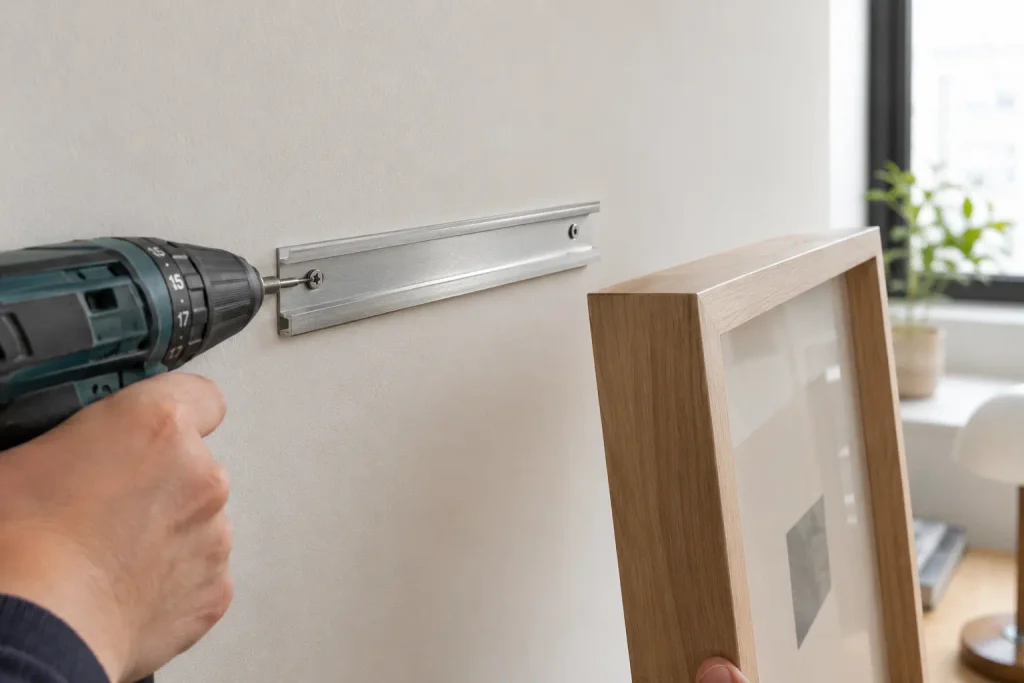
- The finished panel weighs roughly 5-8 kg (11-18 lb). Picture wire or drywall anchors won’t hold it.
- Use a metal French cleat, fastened into studs or masonry anchors suited to your wall type.
- A cleat also means fewer holes to patch if you rent.
5. Making It Look More Realistic
- Color temperature schedule: With a smart-home-compatible controller, go warm white (~3000 K) in the morning, cool daylight (~5000 K) at midday, and amber (2700 K or lower) in the evening. This only works within the range your strips support.
- Plants: A potted plant in front of the panel casts leaf shadows into the room, which feels like real sunlight through foliage.
- Curtains or blinds: Sheer curtains or blinds soften the frame edges.
6. Troubleshooting
| Symptom | Cause | Fix |
|---|---|---|
| Visible LED stripes | Strip pitch > diffusion gap | Increase the gap or add more strips |
| Light leaking at corners | Gaps in seams | Foil tape or silicone |
| Acrylic sagging in the middle | Heat and its own weight | Support with grid, or use 5 mm acrylic |
| Banding on camera | Low PWM frequency | Replace with a high-frequency controller |
| Adapter running hot | Undersized or overloaded | Replace with one rated at 1.25× the load or more |
7. FAQ
How much electricity does it use?
At 50 W for 10 hours a day, that’s 0.5 kWh per day, or about 15 kWh per month. At $0.16/kWh, that’s roughly $2.40 per month. A 12 W/m build (~100 W) doubles that, and dimming reduces it.
How bright is it?
By calculation, about 300-600 lux at 1 m straight on with 6 W/m strips. That’s enough to lift the mood of a room, but far below the brightness of a real window in daytime.
Do I have to build it myself?
If electrical work makes you uneasy, a backlit frame print or a ready-made panel is safer and simpler.
Please note
- The brightness figures are calculated estimates from strip specs, panel size, and diffuser transmittance (30-50%), not measurements. Measure your own build.
- Strip wattage, adapter certification, and controller ratings vary by product, so check datasheets before buying.