
Written for U.S. homeowners. Cost figures are planning estimates from published U.S. cost guides, not measured national averages. Code notes are general guidance; your local building department decides what applies.
1. Custom built-ins vs. store-bought furniture
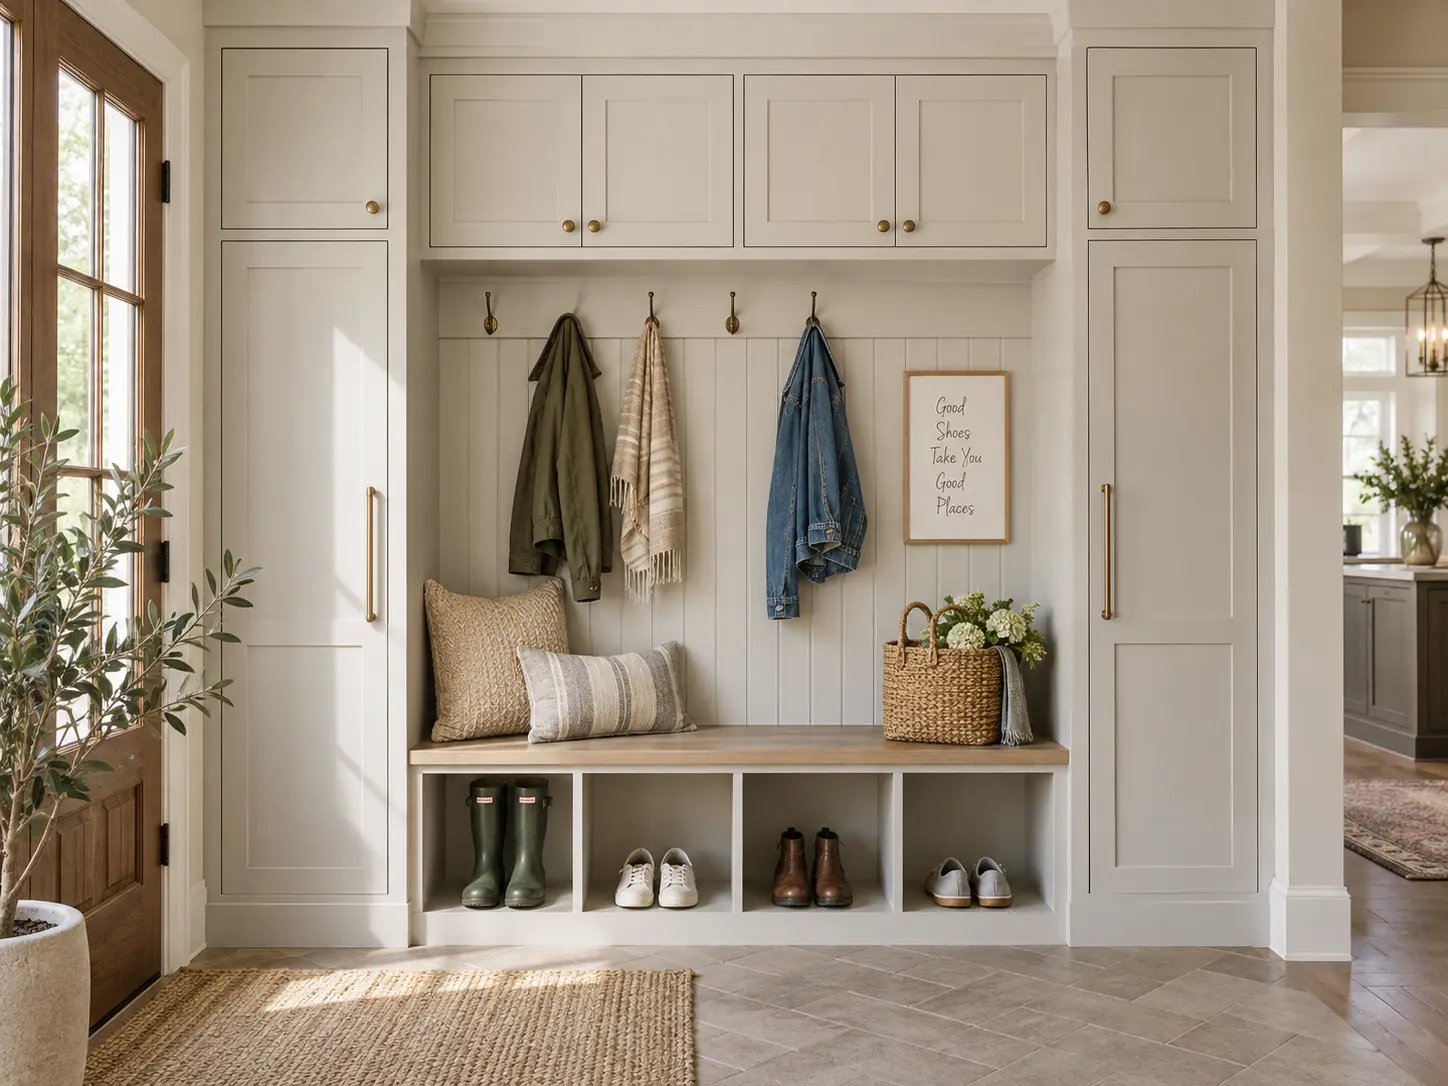
The entryway is where cleats, wet coats, backpacks, and grocery bags pile up. While a standard mudroom hall tree offers a quick fix, it rarely fits the space perfectly and often bows under heavy daily use. A custom mudroom brings built-in seating, shoe storage, lockers and cabinetry together in a layout tailored to your household and available space. It fixes those problems, with some honest caveats.
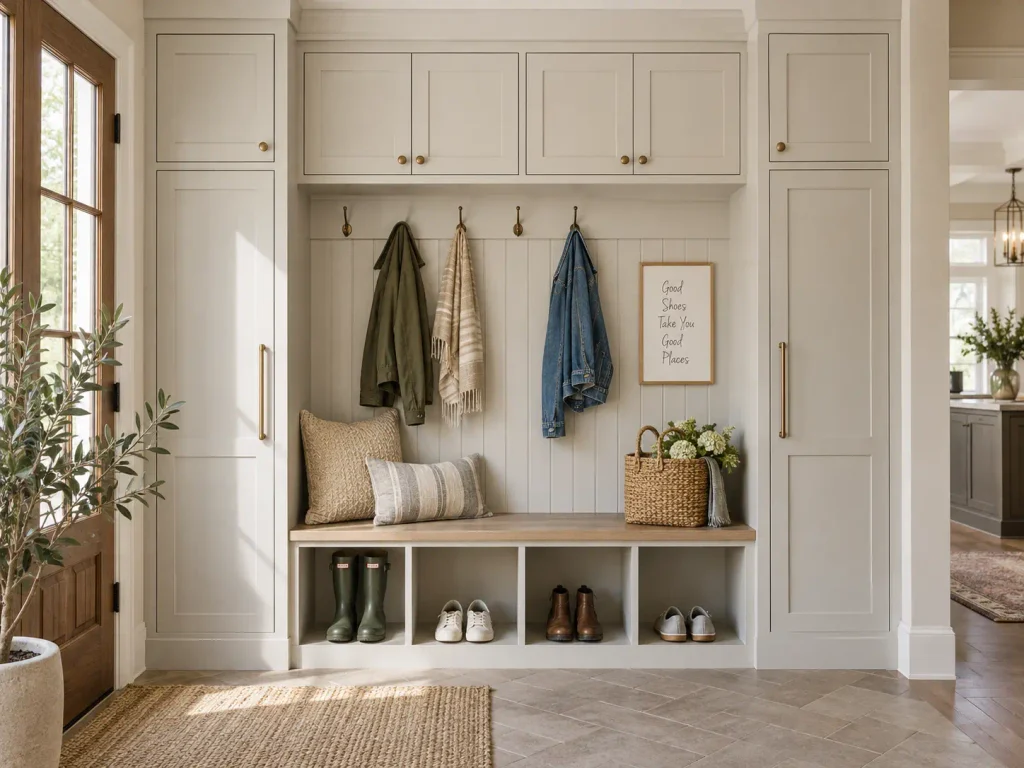
Custom built-ins earn their cost mainly through fit and durability. They run flush into alcoves, under stairs and up to the ceiling, where store-bought units leave gaps on the sides and top, and you can size cubbies for knee-high boots, hockey bags, a dog crate or a charging spot instead of adapting your gear to fixed shelves.
Quality matters more than the custom label. Cheap particleboard units can sag, peel and wobble when loaded or wet, while plywood carcasses, a solid hardwood seat and wall-stud anchoring hold up far better. Well-built modular or semi-custom cabinets with added trim can deliver most of the look for much less money. As for resale, buyers often like built-in storage, but no reliable data was found on what a mudroom returns at sale, so treat it as a lifestyle upgrade rather than an investment you expect to recoup. Wondering how a mudroom might affect your home’s resale price? Read our guide to mudroom resale value and ROI for a closer look at appraisal considerations, renovation costs, and buyer appeal.
2. Core components
A working mudroom balances a functional mudroom bench and storage, hanging space, and closed cabinetry.
Benches and under-bench storage
- Lift-top benches suit seasonal items such as winter gear or beach towels. Use soft-close safety hinges so the lid cannot slam on fingers.
- Installing an open mudroom bench with shoe storage gives drop-and-go access for daily footwear while keeping shoes off the main walkway.
- Deep drawers with full-extension, soft-close slides hide clutter and let you reach the back without digging. Drawers need more bench depth (see Section 3).

Shoe storage
- Slatted or open racks let wet soles air-dry.
- Pull-out trays in a deeper cabinet store shoes two rows deep while keeping the back row visible.
- Water protection. Use removable rubber drip trays, or run tile or waterproof flooring into the lowest cubbies. In wet climates, build the toe-kick and lowest panels from plywood, PVC trim or composite rather than MDF, which swells when soaked.
Lockers, hooks and upper cabinets
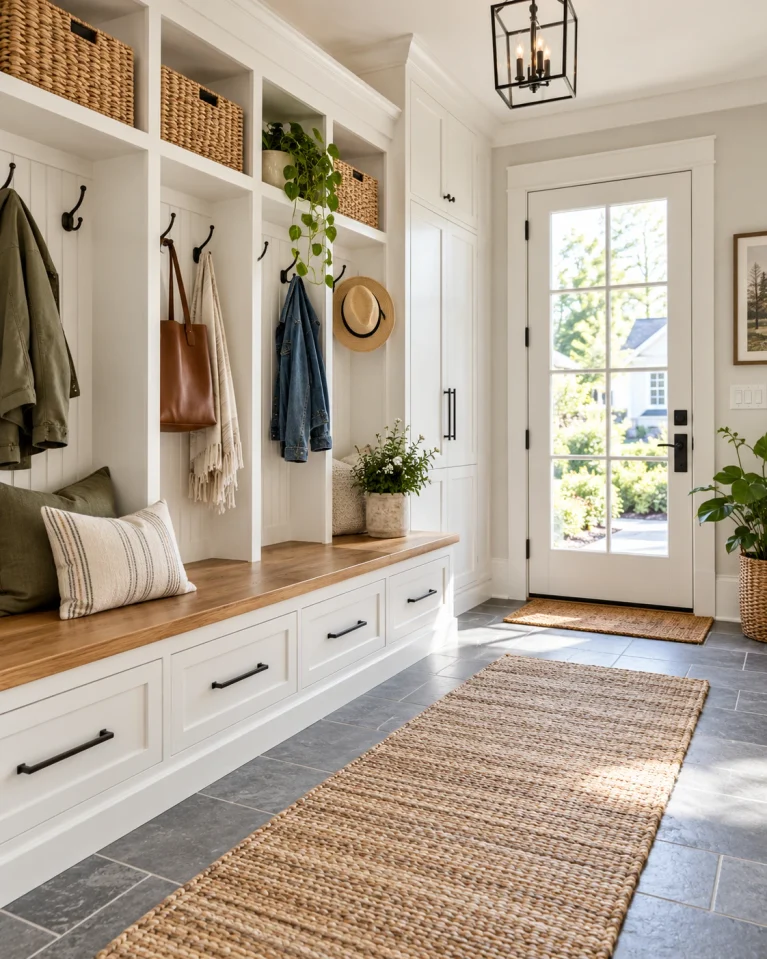
- Dedicated mudroom lockers give each person a defined space for coats, bags, and sports gear. For off-season items, incorporating custom mudroom storage cabinets with soft-close doors keeps visual clutter hidden.
- Staggered hooks at two heights let adults and children share one wall (heights in Section 3).
- Upper cabinets with soft-close or push-latch doors hold off-season items. Keep them shallower than the bench below so heads do not hit them.
- Wall protection. Shiplap, beadboard or board-and-batten behind the hooks keeps backpacks from scraping drywall.

3. Dimensions and clearances
These are common U.S. design ranges. Plank & Pillow’s mudroom locker guide corroborates the bench, depth, width and height figures.
- Bench height: 18–20 in. (add cushion thickness if upholstering).
- Bench depth: 15–18 in. for open cubbies and hooks above. Use 21–24 in. if you add drawers, because drawer boxes and slides need the depth.
- Locker depth: 15–24 in. Most homes land on 18–20 in. as a balance between storage and floor space.
- Locker width per person: 12–15 in. is a minimum for small children. Most people need 18–24 in., and bulky winter coats or sports gear can justify up to about 30 in. Anything under 18 in. is tight for adults.
- Locker height: 72–96 in., or floor-to-ceiling for the built-in look.
- Hook height: adults roughly 60–72 in. depending on coat length; school-age children 42–48 in.; younger children around 36 in. Staggering two rows roughly doubles capacity without crowding.
- Upper cabinet depth: 12–15 in., shallower than the bench or lockers below.
- Walkway: plan for at least 36 in. of clear width, and 42–48 in. where two people pass or sit at the same time. Measure with doors and drawers fully open.
Clearances that are code, not just preference
- Hallway width. If the mudroom is also a hallway, the model IRC (R311.6) sets a 36 in. minimum width. Bench and lockers must not reduce it.
- Egress door. The model IRC (R311.2) requires the exit door to have at least 32 in. of clear width, measured with the door open 90 degrees, and 78 in. of clear height. Do not let a bench or cabinet end narrow it or block its swing.
- Door swing. Keep at least 2 in. between an open door and any bench edge or cabinet.
- Drawer extension. Open every drawer on paper and confirm it does not block the main path.
4. Codes, safety and what to verify before building
Building codes in the U.S. are adopted by states and cities, often a few years behind the newest model code. Ask your local building department which edition applies and whether your scope needs a permit. New electrical circuits and new plumbing usually do. The figures below follow the model International Residential Code (IRC) and the National Electrical Code (NEC) as published in recent editions. Section numbers shift between editions, and your state or city may have adopted a different edition or added amendments.
Electrical (NEC)
- Garage receptacles. Under the 2023 NEC, 125–250V receptacles in a garage need GFCI protection at a readily accessible location (NEC 210.8(A)(2), per a city 2023 NEC garage checklist). If your mudroom is the garage entry, any outlet in the garage zone is affected.
- Other GFCI spots. The NEC also requires GFCI protection for receptacles in laundry areas and within 6 ft of the top inside edge of a sink bowl, and some states amend this, so check locally. A mudroom with a utility sink or washer will likely need GFCI on most outlets. Dwelling receptacles must also be tamper-resistant, and arc-fault (AFCI) protection can apply to hallway and laundry-area circuits.
- Older homes. Existing outlets may predate current rules. Adding or replacing receptacles can trigger today’s requirements.
- Charging cabinets. Charging cabinets are sometimes marketed as a “code-compliant ventilated outlet bank,” but the NEC has no such named item. Practical guidance: have an electrician install a proper receptacle inside the cabinet, leave a ventilated gap or back, follow each charger’s manufacturer instructions, and avoid charging lithium-ion batteries unattended in a sealed cabinet.
- Hire the trade. Treat electrical work as a licensed-electrician job and pull the permit if required.
Building and fire safety
- Garage-to-house wall. The model IRC (R302.6) requires at least ½ in. gypsum board on the garage side of a wall shared with the house, and the door between them (R302.5.1) must be solid wood or steel at least 1-3/8 in. thick, or 20-minute fire-rated. Do not recess cabinets or back-to-back outlets into that wall without checking.
- Pre-1978 homes. Sanding or cutting baseboards and painted trim can release lead dust. Under the EPA’s Renovation, Repair and Painting rule, paid contractors working in pre-1978 homes must be lead-safe certified and follow lead-safe work practices. Homeowners doing their own work should use lead-safe practices (containment, wet cleanup, HEPA vacuum) anyway, especially with kids in the house.
- Anchoring. Lockers, hooks and upper cabinets must be fastened into wall studs or into 3/4 in. plywood blocking behind the drywall. Anchor tall units so they cannot tip.
- Heating registers. Floor vents along the wall need to be rerouted through the toe-kick with a duct transition kit, or the cabinet will starve the room of heat.
- Out-of-square walls. Add 1.5–2 in. filler or scribe strips at cabinet ends so the installer can trim to the wall.
Plumbing and laundry
- Dryer exhaust must vent outdoors through smooth metal duct, normally 4 in. in diameter. The IRC (M1502) allows up to 35 ft of duct, minus 2.5 ft for each 45-degree elbow and 5 ft for each 90-degree elbow (for typical 4-in.-radius mitered elbows), unless the dryer manufacturer specifies otherwise. Never terminate it into an attic, crawlspace or the garage.
- Washer drain needs a trapped standpipe of at least 2 in., and the model IRC puts its top 18–42 in. above the trap weir (the section number changes between editions). Local plumbing codes can differ, so confirm pipe size, trap setup and height with a licensed plumber.
- Utility sink drains need a trap and vent. Moving a sink far from existing plumbing is what drives the bill up.
5. Worked example: an 8-foot (96 in.) wall
Consider a garage-entry wall with a center bench flanked by two tall cabinets. The diagram shows the front view and the floor plan.
Width math. 1.5 in. filler + 23 in. cabinet + 47 in. bench section + 23 in. cabinet + 1.5 in. filler = 96 in. The three boxes total 93 in., and the 3 in. of fillers let the installer scribe to an out-of-plumb wall instead of forcing 96 in. of boxes into a space that is never exactly 96 in.
- Left unit (23 in. wide, 24 in. deep): full-height utility cabinet with adjustable shelves for a vacuum, broom or sports gear.
- Center unit (47 in. wide, 18 in. deep): bench seat for two, open shoe cubbies below, three double-height hook sets on a board-and-batten back, and closed uppers (12–15 in. deep) above.
- Right unit (23 in. wide, 24 in. deep): utility cabinet. If you want a charging shelf, see the electrical notes in Section 4.
Planning notes for this layout.
- Shoe capacity. In 47 in. of bench width, a realistic estimate is roughly 6–10 pairs depending on shoe sizes, dividers and whether you stack two tiers. It will not hold a family’s whole collection.
- Bench depth. The example uses 18 in. That is fine for open cubbies but too shallow for the drawers described elsewhere in the guide. Choose one or the other.
- Room depth. 24 in. of cabinet depth plus 36 in. of aisle gives a 60 in. minimum from the wall to any barrier. Add 6–12 in. if two people regularly use the bench together.
What this wall costs. At a custom-cabinet range of $500–$1,200 per linear foot (HomeLight), an 8 ft run lands around $4,000–$9,600. That is rough arithmetic: tall units and uppers cost more per floor foot, while no countertop or plumbing keeps this below kitchen levels. Semi-custom cabinetry at $200–$650 per linear foot (HomeLight, kitchen-cabinet basis) would be roughly $1,600–$5,200 for the same run.
6. Finishes, paint and flooring
Style directions
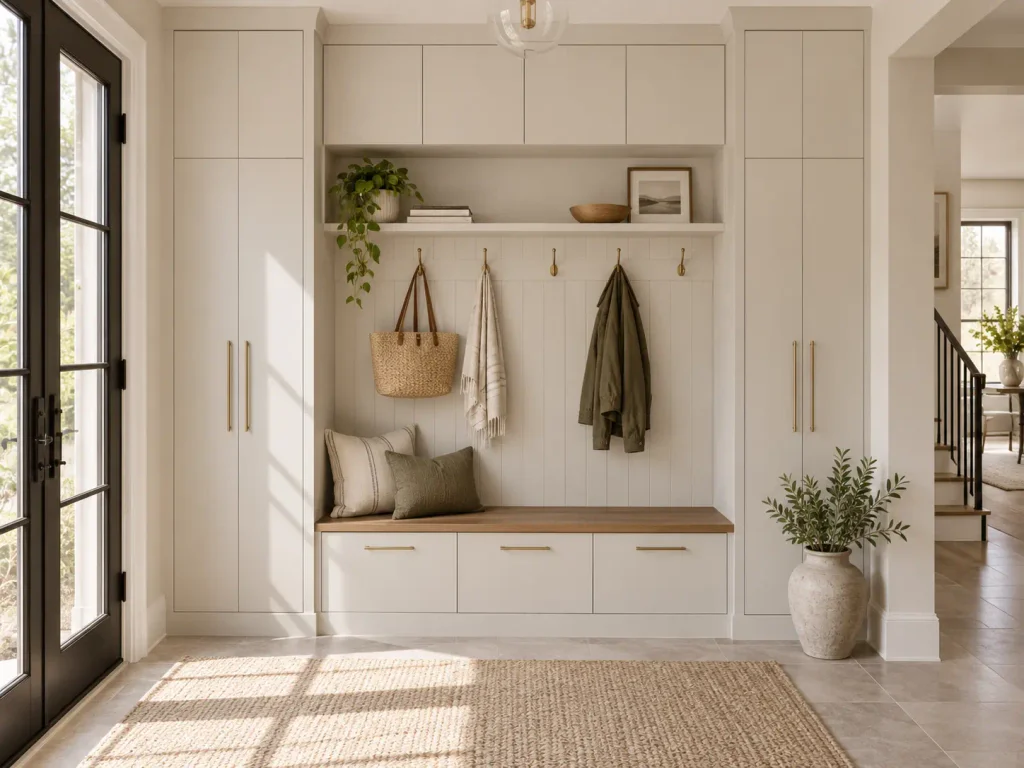
- Modern minimalist: flat slab doors, push-latch or simple black or brass hardware, neutral colors (warm taupe, greige, charcoal, white).
- Higher-end millwork: integrated LED strip lighting, solid oak or walnut bench tops, fluted panels, and stone or quartz over lower drawers.
Paint that survives mudroom life
- Formulation. Use a waterborne acrylic or waterborne alkyd/urethane cabinet and trim enamel. Examples of the category include Benjamin Moore Advance and Sherwin-Williams Emerald Urethane Trim Enamel. These are product examples, not endorsements.
- Sheen. Satin or semi-gloss wipes clean most easily. If you prefer flatter, choose a washable or scrubbable matte rated for trim.
- Prep. Sand, fill, and use a high-adhesion primer, especially over MDF edges and previously glossy surfaces.
- Dry vs. cured. Paint can feel dry in hours but harden over days to weeks. Some cabinet enamels take several weeks to fully cure, so check the manufacturer’s technical data sheet. Be gentle with the bench and doors until then.
- Labor cost. HomeAdvisor puts professional painting of a mudroom at roughly $250–$750.
Flooring
Flooring is where mudrooms often fail. Porcelain tile, luxury vinyl plank and other waterproof, scratch-resistant surfaces work well. HomeAdvisor advises steering clear of water-absorbing materials such as hardwood or cork here. HomeAdvisor’s mudroom cost guide gives $3–$25 per square foot for mudroom flooring.
7. Utility sinks and laundry
- Utility sink. Useful for rinsing boots and gear, pre-soaking stained clothes and washing paws.
- Dog wash station. HomeAdvisor’s mudroom cost guide puts a built-in dog-wash station at $2,000–$3,000 and a simpler setup at $1,000–$2,000. Custom tile, glass or a full shower pushes it higher.
- Combined mudroom and laundry. Put the washer and dryer along the far interior wall and keep shoe and coat drop zones at the entry. Leave a clear path from the door to the machines so hampers do not block the aisle.

- Cost reality. Plumbing, venting and a dedicated dryer circuit are what separate a $5,000 mudroom from a $15,000 one. One published guide puts a mid-range laundry-room remodel (semi-custom cabinets, counter, tile floor, utility sink, new appliances) at roughly $8,500–$13,000.
8. Custom mudroom cost estimates
These price ranges are general planning estimates based on published U.S. remodeling and cabinetry cost guides (some of HomeAdvisor’s unit prices come from an earlier edition of its guide than its main figures). Actual prices vary by location, materials, labor rates, project complexity and the scope of installation, and the sources disagree in places. Because construction costs change over time, get multiple itemized quotes from local contractors before setting your final budget.
Four different things get quoted as “mudroom cost,” and they are not interchangeable. Built-ins for an existing space means the bench, lockers and hooks on one wall; the budget tiers below are installed prices for roughly an 8-ft wall and exclude demolition, new electrical or plumbing, and flooring. Cabinet unit prices are per-linear-foot figures from cabinet guides, many written for kitchens, so use them for rough arithmetic only. Whole-room remodels cover a new floor, paint, lighting and built-ins, priced per square foot. Additions are new rooms built onto the house and priced like construction.
Budget tiers
- DIY with stock materials: about $300–$1,500. Plank & Pillow reports its own locker project cost about $800–$1,000 in materials. Premium hardware or a white oak seat push this higher.
- Semi-custom: about $1,500–$4,000. Stock or semi-custom cabinet boxes, trim, a purchased bench top and hardware, installed by you or a handyman.
- Custom built-in from a local shop or finish carpenter: about $4,000–$10,000. Plank & Pillow gives $3,000–$10,000+ for custom built-in lockers, and the linear-foot math above gives $4,000–$9,600 for 8 ft.
- High-end: $10,000 and up, with no reliable published ceiling. Inset doors, walnut or white oak, stone surfaces, integrated lighting, a longer run or high-cost metro labor can climb well past $15,000–$20,000. That upper figure is an estimate rather than a published price, so treat it as a planning placeholder and get quotes.
Common add-ons and unit prices (HomeAdvisor’s mudroom cost guide unless noted)
- Custom cabinets: $500–$1,200 per linear foot for custom work (HomeLight; an earlier HomeAdvisor mudroom guide gave the same range). HomeAdvisor’s current guide instead quotes $300–$600 per cabinet.
- Custom bench: $250–$2,000 or more (earlier HomeAdvisor guide).
- Lockers: prefab $310–$2,750 or more. Open lockers or cubbies cost less, and closed lockers start around $2,000 (earlier HomeAdvisor guide).
- Dog wash area: $1,000–$3,000, depending on the setup.
- Flooring: $3–$25 per square foot installed.
- Interior door: about $1,000 (earlier HomeAdvisor guide).
- Painting: roughly $250–$750.
Conversion vs. addition
- Closet-to-mudroom bench with cubbies: $500–$2,000, per a published cost article. That is the cheapest way to get a real mudroom.
- Remodeling an existing mudroom: HomeAdvisor’s mudroom cost guide puts this at $50–$100 per square foot, covering upgraded surfaces, custom benches, cabinets and lighting. Because mudrooms are small, per-foot prices run high, so ask each contractor what is included.
- New mudroom addition: HomeAdvisor’s mudroom cost guide gives $6,500–$18,000 (average about $12,000, or $100–$300 per sq ft), with extremes from about $3,000 to $36,000. Its size table lists roughly $3,600–$10,800 for a 36 sq ft addition and $6,400–$19,200 for 64 sq ft; converting existing space of the same size runs about half that. Additions add foundation, roofing, permits and HVAC, so they behave like construction, not cabinetry.
What moves the price
- Region and labor market (high-cost metros are materially higher)
- Wood species and door style, plus finish quality
- Drawer slides, hinges and hook hardware
- Whether electrical, plumbing or HVAC changes are required
- Run length, tall units and uppers, and wall conditions
Where to spend and where to save
- Spend: the bench top, heavy-duty soft-close drawer slides and hinges, durable flooring, and high-capacity hooks.
- Save: interior cabinet boxes (pre-finished birch plywood or melamine is fine behind doors) and decorative trim profiles.
9. Planning checklist
- Audit what must live here. Count coats, shoes, bags and sports gear, and size to your heaviest season.
- Measure and map. Record wall length, door swings, outlets, floor vents, windows and the garage-wall situation.
- Check code and permits. Call the building department about electrical, plumbing and any permit trigger, and confirm GFCI needs for each outlet.
- Test your age of home. If it was built before 1978, plan for lead-safe work.
- Plan for out-of-square walls. Specify 1.5–2 in. fillers on cabinet ends.
- Get 2–3 itemized quotes. Ask each to separate cabinetry, install, finish, electrical and flooring so you can compare like for like.
- Approve shop drawings from your cabinetmaker before fabrication starts.
Sources
Used for cost ranges and dimensions:
- HomeAdvisor, mudroom cost guide (some unit prices here come from an earlier edition): https://www.homeadvisor.com/cost/additions-and-remodels/mudroom
- Plank & Pillow, mudroom locker costs and dimensions: https://plankandpillow.com/how-to-build-mudroom-lockers/
- HomeLight, cabinet cost per linear foot: https://homelight.com/blog/cost-of-kitchen-cabinets-installed/
- 10 Federal Storage, laundry-room and mudroom costs: https://10federalstorage.com/blog/laundry-room-and-mudroom-ideas-and-what-they-cost
Used for electrical points:
- City of St. Paul 2023 NEC garage checklist: https://www.stpaul.gov/sites/default/files/2023-06/DSI.Bldg_Electrical_Checklist%20Garage.pdf
- EC&M overview of 2023 NEC Chapter 2 changes: https://www.ecmag.com/magazine/articles/article-detail/examining-adjustments-to-chapter-2-accepting-(nec)-change-part-6
Used for building, plumbing and electrical code points:
- IRC egress door (R311.2): https://buildingcodetrainer.com/front-door-size-residential-egress/
- IRC hallway width (R311.6), as reproduced by the City of Richmond, KY: https://cms2.revize.com/revize/richmondky/Means%20of%20Egress.pdf
- IRC garage separation (R302.5.1, R302.6), MyBuildingPermit tip sheet: https://Mybuildingpermit.com/sites/default/files/TS_06_Residential_Garage_Separation_2021_IRC_Final_0.pdf
- IRC dryer exhaust (M1502), PNNL Building America Solution Center: https://basc.pnnl.gov/resource-guides/proper-clothes-dryer-venting
- Washer standpipe height (model IRC), InterNACHI: https://www.nachi.org/gallery/piping/standpipe-for-a-clothes-washer
- 2023 NEC 210.8 GFCI summary: https://www.mikeholt.com/files/PDF/23UNEC1_210.8.pdf
Reading these figures.
- Cost figures vary by source and region, and HomeAdvisor’s guide has changed between editions. Treat every range as a starting point and confirm with local quotes.
- Code references follow the model IRC and NEC, and may differ by jurisdiction. Confirm with your local building department or a licensed contractor.
- No source was found for mudroom resale value, so none is claimed. Prices and code references were last reviewed in October 2026.


1 thought on “Custom Mudroom Design Guide: Layouts, Dimensions, Storage & Costs”
Comments are closed.